Author - Mr Michael Papesch FRACS Head and Neck ENT consultant at Whipps Cross University Hospital, London.
This document was created from a powerpoint presentation produced by Mr Papesch to teach juniors how to perform a Panendoscopy. His website www.entcare.co.uk is also an excellent source of information on ENT. I have also made this link available in the ‘Links’ section. You may use the information here for personal use but if you intend to publish or present it, you must clearly credit the author and www.clinicaljunior.com
This site is not intended to be used by people who are not medically trained. Anyone using this site does so at their own risk and he/she assumes any and all liability. ALWAYS ASK YOUR SENIOR IF YOU ARE UNSURE ABOUT A PROCEDURE. NEVER CONDUCT A PROCEDURE YOU ARE UNSURE ABOUT.
Panendoscopy
Reasons for Performing a Panendoscopy
- Assessment, staging and biopsy of known tumour
- Exclusion of synchronous primary
- Search for unknown primary
- biopsy ‘at risk sites’ (Postnasal space biopsy, Tonsillectomy, Tongue base biopsy, Pyriform sinus, Post cricoid area)
Pre Operative Assessment
- ASA Grade
- Craniofacial abnormalities
- Retrognathia
- Local airway obstruction
The operating theatre should also have the following set up:
- Familiar Team
- Good Anaesthetist
- Good equipment
- Patient on operating table (Not on bed!!!)
- Mask, eye protection, gloves
- Cumulative career risk of HIV infection: 1%
- Occupational Risk to surgeons of unrecognised HIV infection in a Low-Prevalence area. World Journal of surgery 1993 17 232-236
Instruments
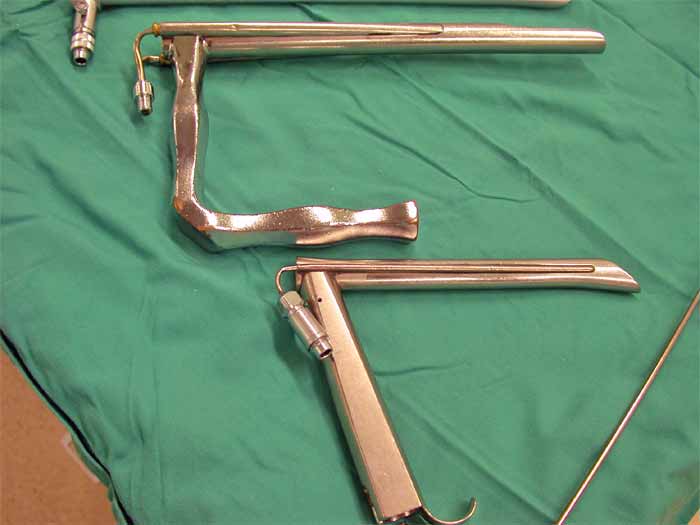
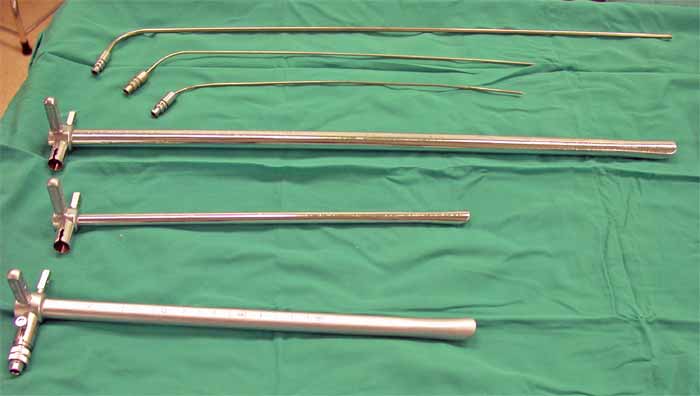
Nasendoscopy – should use Moffat’s decongestion (i.e. 1ml 1:1000 adrenaline + 1ml 10% cocaine + 2ml of 2% sodium bicarbonate)
Preparation
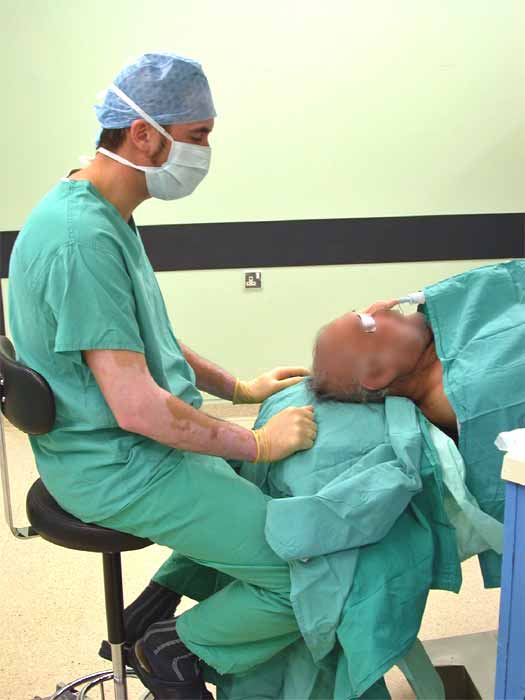
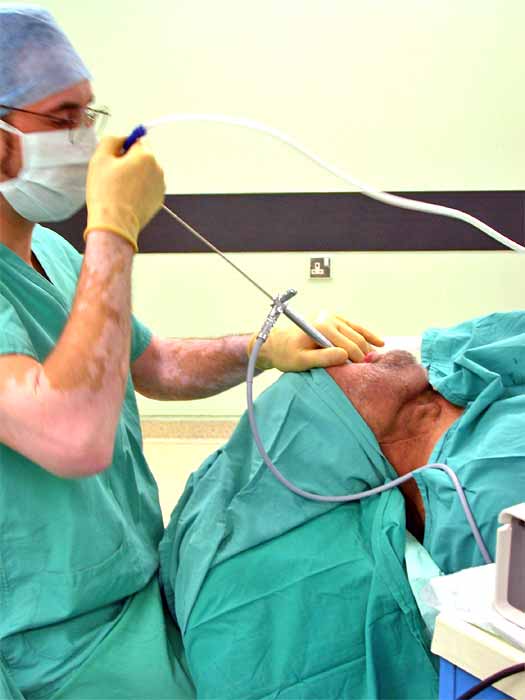
Sit comfortably and ensure the eyes are taped shut.
Always use a mouth guard to give some protection against damaging the teeth. Some people always place their little finger between the scope and the teeth. The idea being that when it is too painful for your finger then it is probably too much pressure for the teeth. If the patient doesn’t have any teeth use gauze to protect the gums.
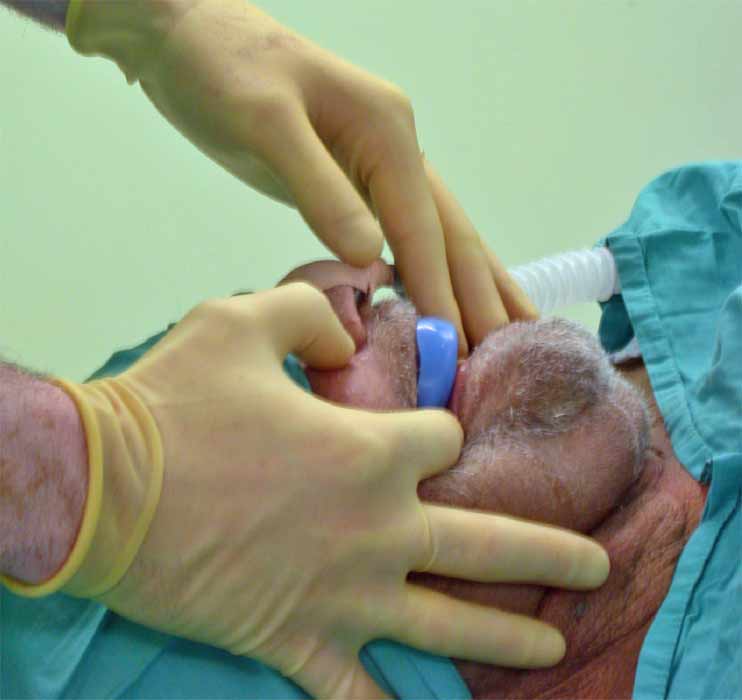
Using your non dominant hand keep the mouth open and then holding the scope with your dominant hand enter the tip of the scope lateral to the midline and then straighten up.
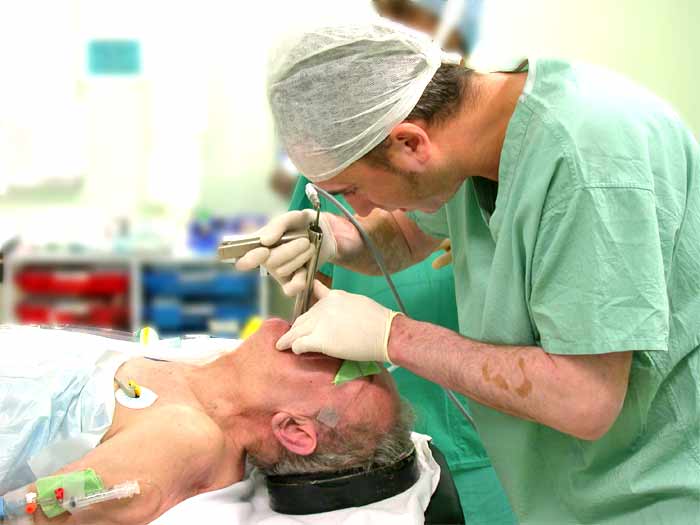
Look after your back! keep your back straight - bring the table up and your chair down.
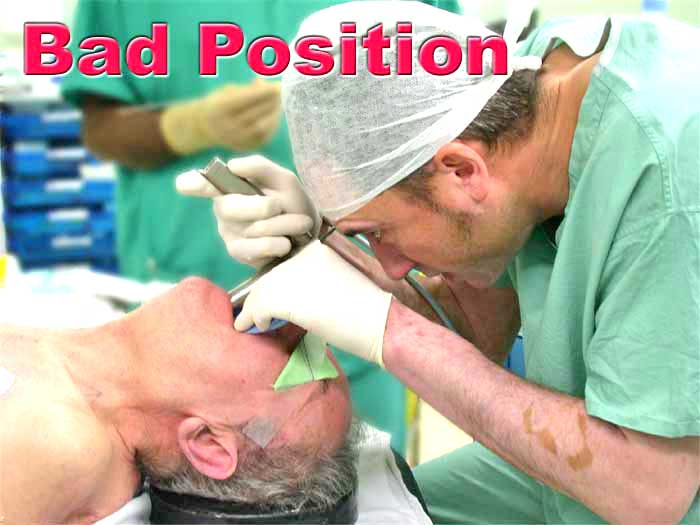
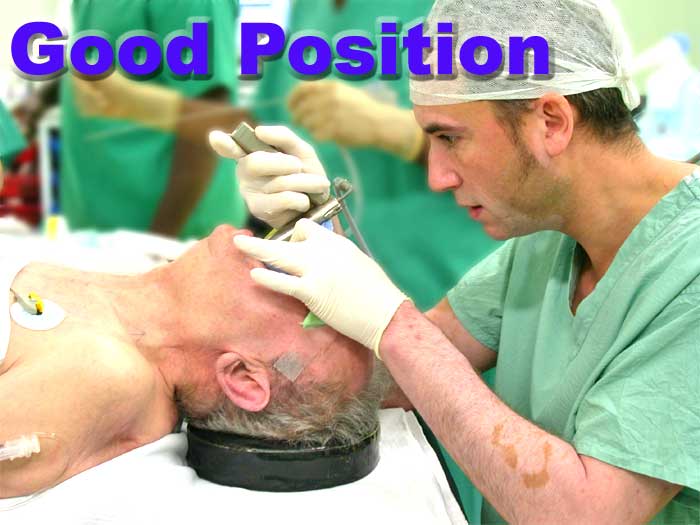
Follow down the hard and soft palate
Check base of tongue, vallecula, tonsils, lateral pharyngeal wall & piriform sinus
Lift the larynx forward to view post cricoid area
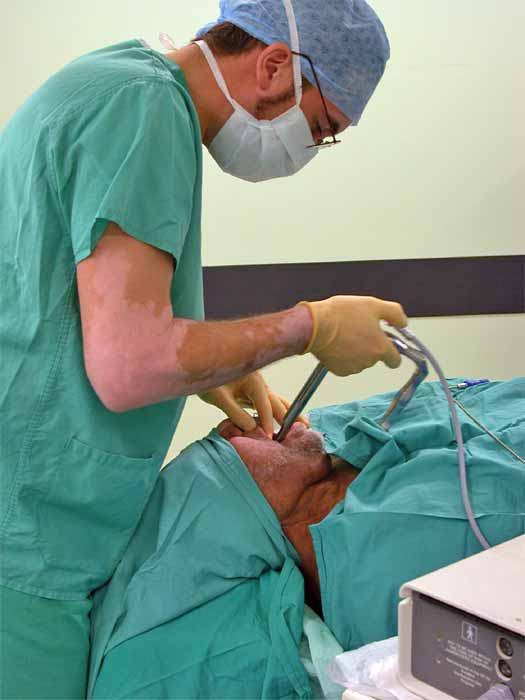
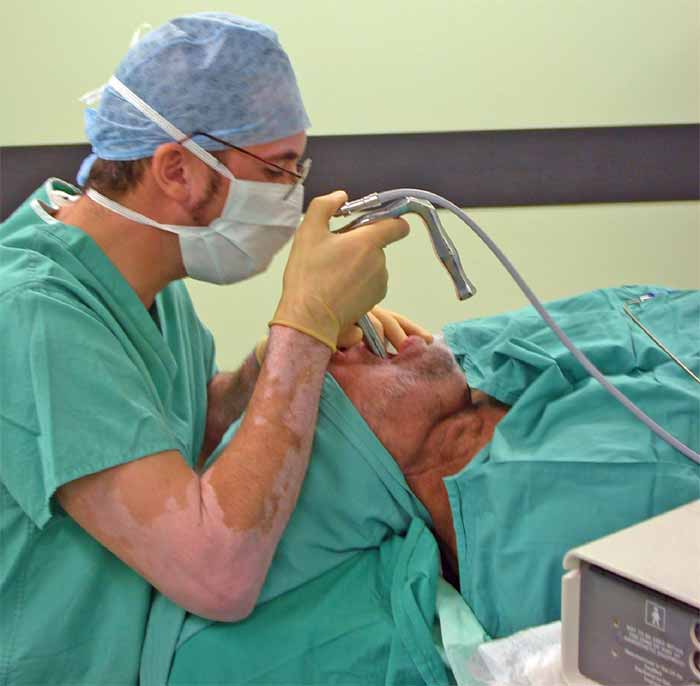
This is the kind of view you will see while performing a pharyngoscopy.
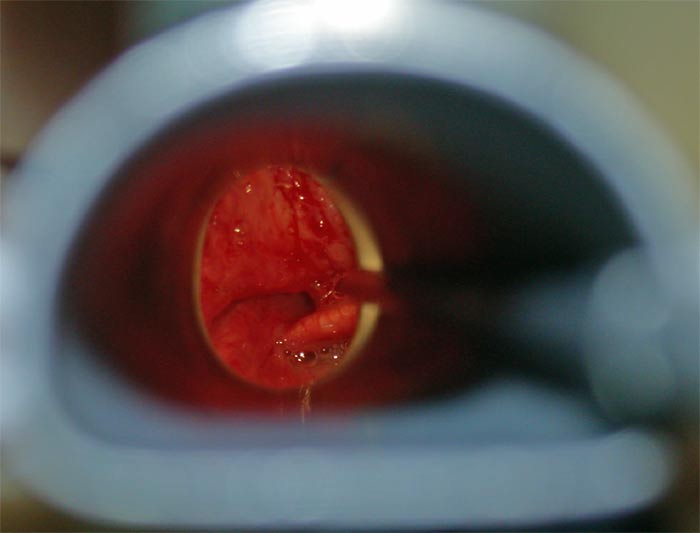
You can follow the tube down to the larynx and then hold in position with whatever setup that is available in your hospital. Pictures of pathological and normal vocal cords can be found everywhere in google.
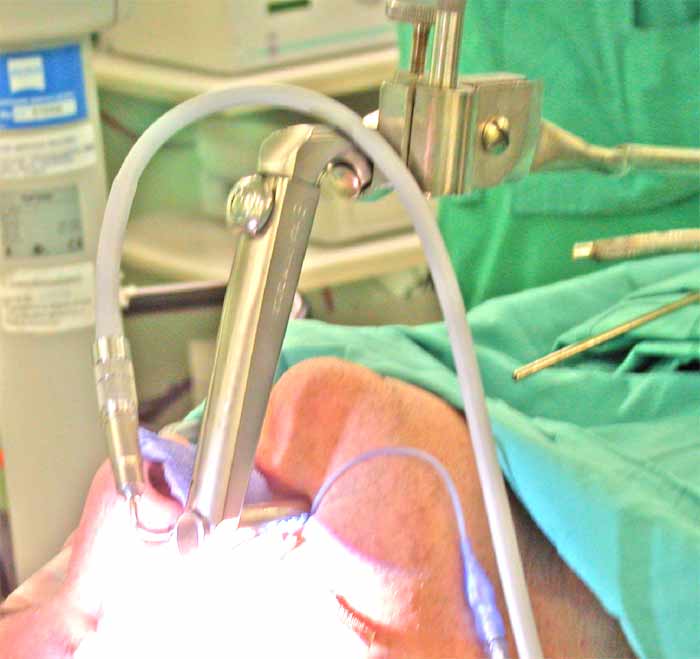
You can use an Oesophagoscope to complete nearly all parts of a Panendoscopy including the post cricoid and oesophageal areas. the next series of pictures shows how the scope can be passed down smoothly. The idea is to find the pyriform fossa and then follow one side posteriorly into the midline and enter safely into the upper oesophagus. As you pass the scope down it should glide smoothly with minimal force required to advance.
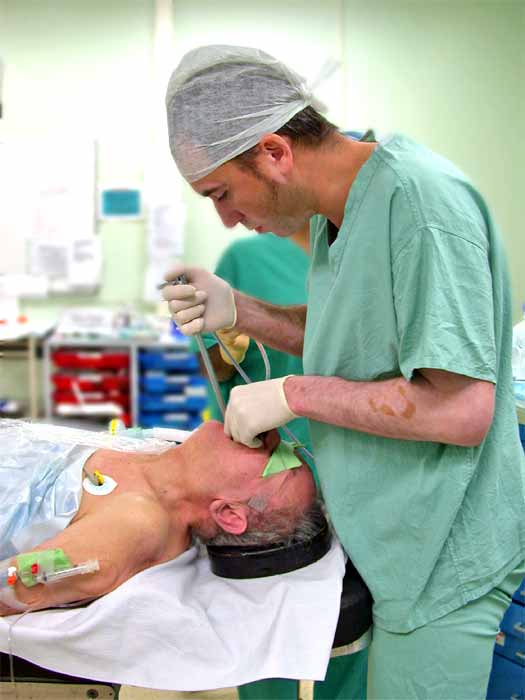
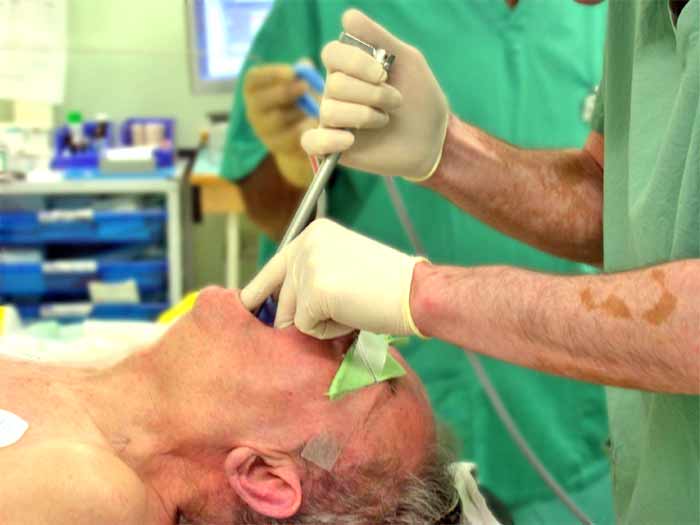
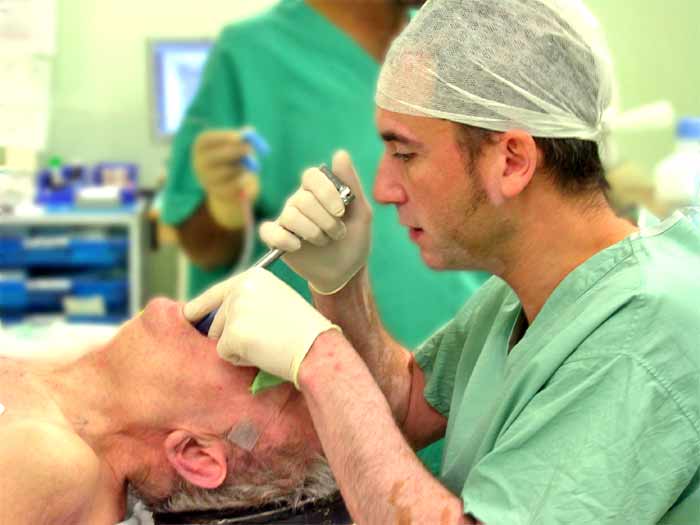
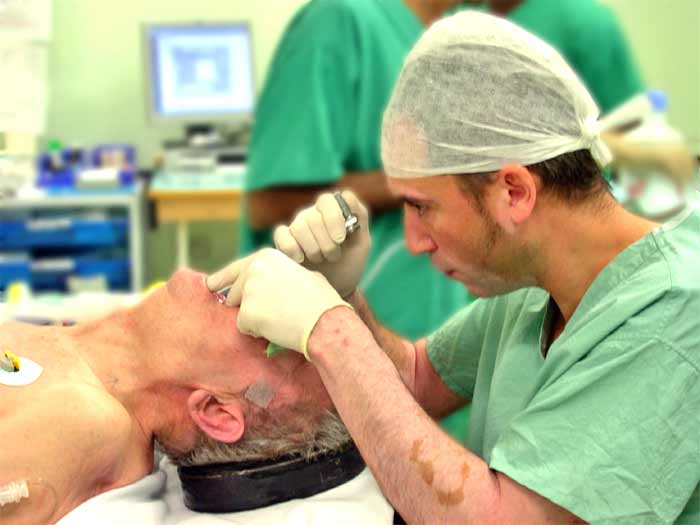
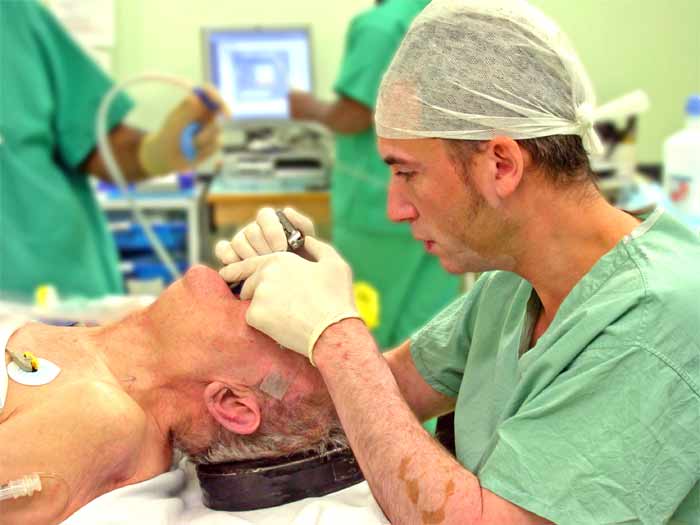
As you pass the scope you should always be able to see a lumen at each step of the way. Never push through mucosa without any idea where you are going. You can use suction to clear any sections to visualise the path ahead.
Bronchoscopy
Steps involved include:
- On reaching the glottis - Turn bronchoscope at 90 degrees to vocal cords
- Stop ventilating at time of placement
- Instruct anaesthetist to restart ventilating once past cords
- Turn head to left to view right main bronchus
- Turn head to right to view left main bronchus
A panendoscopy should be completed with palpation of the base of tongue, tonsils and lateral pharyngeal wall. If you feel a submucosal lesion a biopsy should be performed. Normally palpation is left till the end, particularly if the lesion is friable as they tend to bleed and obscure the view in the scope.
Complications
- Loss of airway control
- Damage to teeth or gums
- Dislocation of Jaw, jaw pain
- Damage to throat, pharynx, larynx, oesophagus
- Bleeding
- Perforation
- Infection/mediastinitis
Post op Care
- Laryngoscopy: Biopsy: Voice rest
- Pharyngoscopy: Biopsy: Analgesia
- Oesophagoscopy: Monitor
- Biopsy: overnight stay
- NBM till mane
- Temp/HR/BP/RR
- Chest pain, Back pain
- Consider CXR and gastrograffin swallow
Further Reading
Utube - Anatomy video of upper airways
Utube - laryngoscopy with biopsy of pyriform fossa mass